Remote Desktop
Most likely, you won’t need more than JupyterLab. But if you do need a full-on desktop (maybe for some heavy-duty software you need to run), it’s super easy to spin one up. You can launch a single desktop, or even a cluster!
How to launch it
Go to the Great Lakes web interface and navigate to “My Interactive Sessions”. You’ll see something like below.
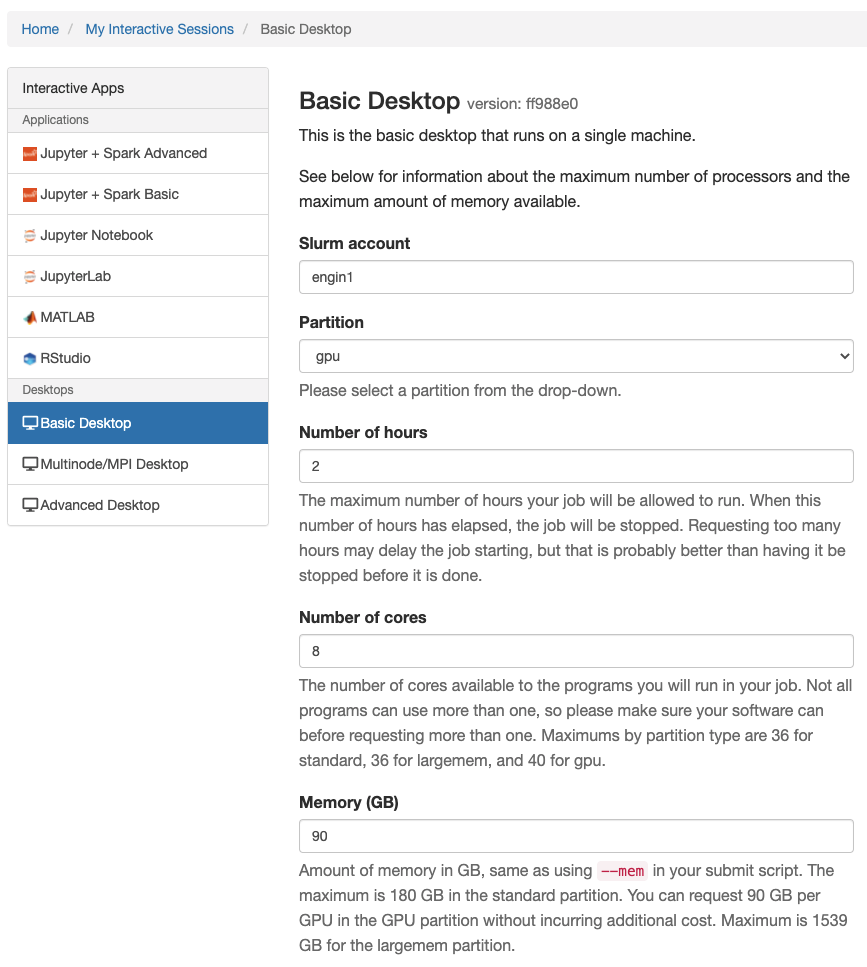
Use Basic Desktop to launch a single machine. Use Multinode/MPI Desktop to launch a cluster. If you want more options, you can use Advanced Desktop. All the configuration options are pretty self-explanatory. Simply scroll down to the bottom of the page and click the launch button.
Remote Desktop on Native VNC Client (and without VPN)
Sometimes, you are off-campus and you dont want to connect to VPN, but you also want remote desktop. Follow these steps:
Configure VNC (Only need to do this one time)
TurboVNC, which is a VNC server program, has been installed on Great Lakes. All we need to do is to modify ~/.vnc/xstartup.turbovnc.
First, if ~/.vnc/xstartup.turbovnc already exists, back it up by moving it:
mv ~/.vnc/xstartup.turbovnc ~/.vnc/xstartup.turbovnc.bak
If it does not exist, create it and set its permission:
cd ~
mkdir .vnc
cd .vnc
touch xstartup.turbovnc
chmod 700 xstartup.turbovnc
Then add the following lines to it (via nano or vim):
#!/bin/sh
unset SESSION_MANAGER
unset DBUS_SESSION_BUS_ADDRESS
exec startxfce4
This tells the VNC server to use xfce as its desktop (GUI) provider.
Start VNC server on a compute node
Login to Great Lakes login node (via jump machine) and request a compute node that meets your needs:
ssh -J <uniqname>@login.itd.umich.edu <uniqname>@greatlakes.arc-ts.umich.edu
srun -p gpu --account chaijy0 --gres=gpu:1 --mem=20GB --cpus-per-task=4 --time 0-3:00 --pty bash
Then, you will enter the compute node. On the compute node, look up its hostname:
hostname
this will return something like this:
gl1021.arc-ts.umich.edu
Note this down.
Then on the compute node, spin up a VNC session by:
vncserver
This will return something like this:
...
...
...

WARNING: gl1021.arc-ts.umich.edu:30 is taken because of /tmp/.X30-lock
Remove this file if there is no X server gl1021.arc-ts.umich.edu:30

WARNING: gl1021.arc-ts.umich.edu:31 is taken because of /tmp/.X31-lock
Remove this file if there is no X server gl1021.arc-ts.umich.edu:31

Desktop 'TurboVNC: gl1021.arc-ts.umich.edu:35 (<uniqname>)' started on display gl1021.arc-ts.umich.edu:35

Starting applications specified in /home/<uniqname>/.vnc/xstartup.turbovnc
Log file is /home/<uniqname>/.vnc/gl1021.arc-ts.umich.edu:35.log
Note the :35 above - it starts from :35 because :1 through :34 have been taken. This means this new VNC session was started at 5935 port. VNC uses ports starting from 5901. So :1 will spawn at 5901; :2 will spawn at 5902 and so on. Now the VNC server is up and running!
Connect to VNC server on the compute node
First, we need to establish an SSH tunneling to forward the 5935 port to our own computer and then connect via localhost. To establish the SSH tunnel, on your laptop:
ssh -J <uniqname>@login.itd.umich.edu -N -f -L 59000:<gl1021.arc-ts.umich.edu>:<5935> <uniqname>@greatlakes.arc-ts.umich.edu
replace fields with <> to values obtained from above steps.
Then, on your laptop, open your favorite VNC client. For macOS users, the Finder already has a built-in VNC tool: Go > Connect to Server. (Btw, I recommend checkout RealVNC client for Mac users - it seems to be faster.)
To connect:
- Host: localhost
- Port: 59000
For macOS for example, enter vnc://localhost:59000 and hit ‘Connect’.
You will be asked to enter the password you set for VNC.
Then you should be entering the desktop (GUI).